
Table of Contents
- Why You Need These Tools
- Attachment 1: Forks
- Attachment 2: Bucket
- Attachment 3: Winch
- Attachment 4: Crane Jib
- Attachment 5: Work Platform
- Attachment 6: Grapple
- Attachment 7: Sweeper
- How to Choose the Right Tool
- Replacement Guidelines
- Common Mistakes to Avoid
- Cost-Benefit Analysis Table
- Our Business Partner (Video)
- Final Thoughts
You bought a telehandler. Good machine. Lifts well. Moves materials. But you are only using half its potential.
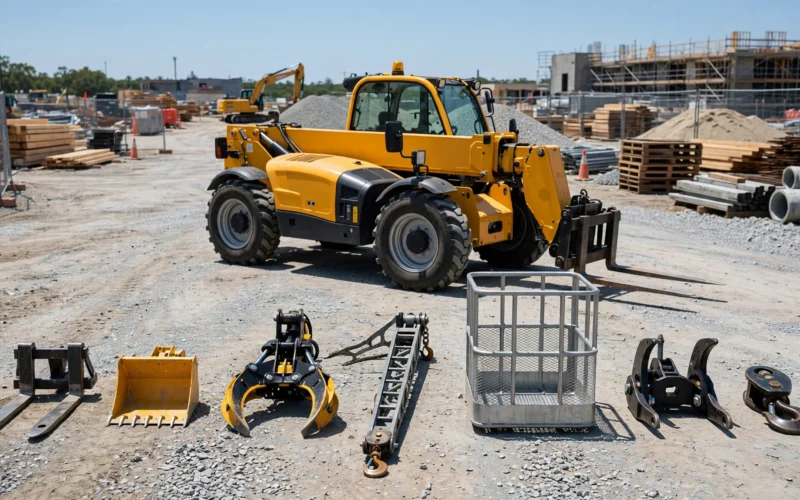
The machine itself is just the beginning. Attachments are what make it useful. Without them, you have an expensive forklift with a long arm. With them, you have a loader, a crane, a sweeper, and a work platform all in one.
I have worked with telehandlers for years. I have seen people spend thousands on the machine and then ignore attachments. Big mistake. Attachments are where the real value sits.
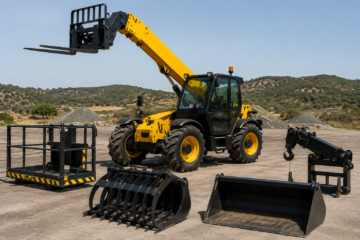
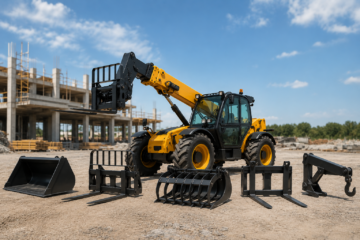
This telehandler attachment guide covers 7 must-have tools. I will tell you what each one does. I will tell you when to use each one. I will help you choose the right attachments for your work.
Why You Need This Telehandler Attachment Guide
Most people buy a telehandler and use only the forks. They move pallets. They lift materials. They think that is enough.
It is not. Attachments expand what your machine can do. One machine with five attachments does the work of five separate machines. You save money on equipment. You save space in your yard. You save time switching between jobs.
This telehandler attachment guide is for anyone who wants to get more from their machine. Whether you are in construction, farming, warehousing, or landscaping, attachments make your work easier.
The cost of attachments is low compared to buying new machines. A bucket costs $2,000. A new skid steer costs $30,000. The math is simple.
Let us get into the 7 tools you need.
Attachment 1: Forks
Forks are the standard attachment. They come with most telehandlers. You already have them. But do not overlook them. Forks are the most used attachment for a reason. They handle pallets, lumber, blocks, and most materials.
When to use forks: Almost every day. Moving pallets. Moving supplies. Moving equipment. How to choose forks: Match the fork length to your loads. Standard forks are 42 to 48 inches. Check the fork capacity. Do not exceed the rating.
This telehandler attachment guide starts with forks because they are the foundation. Everything else builds on them.
Attachment 2: Bucket
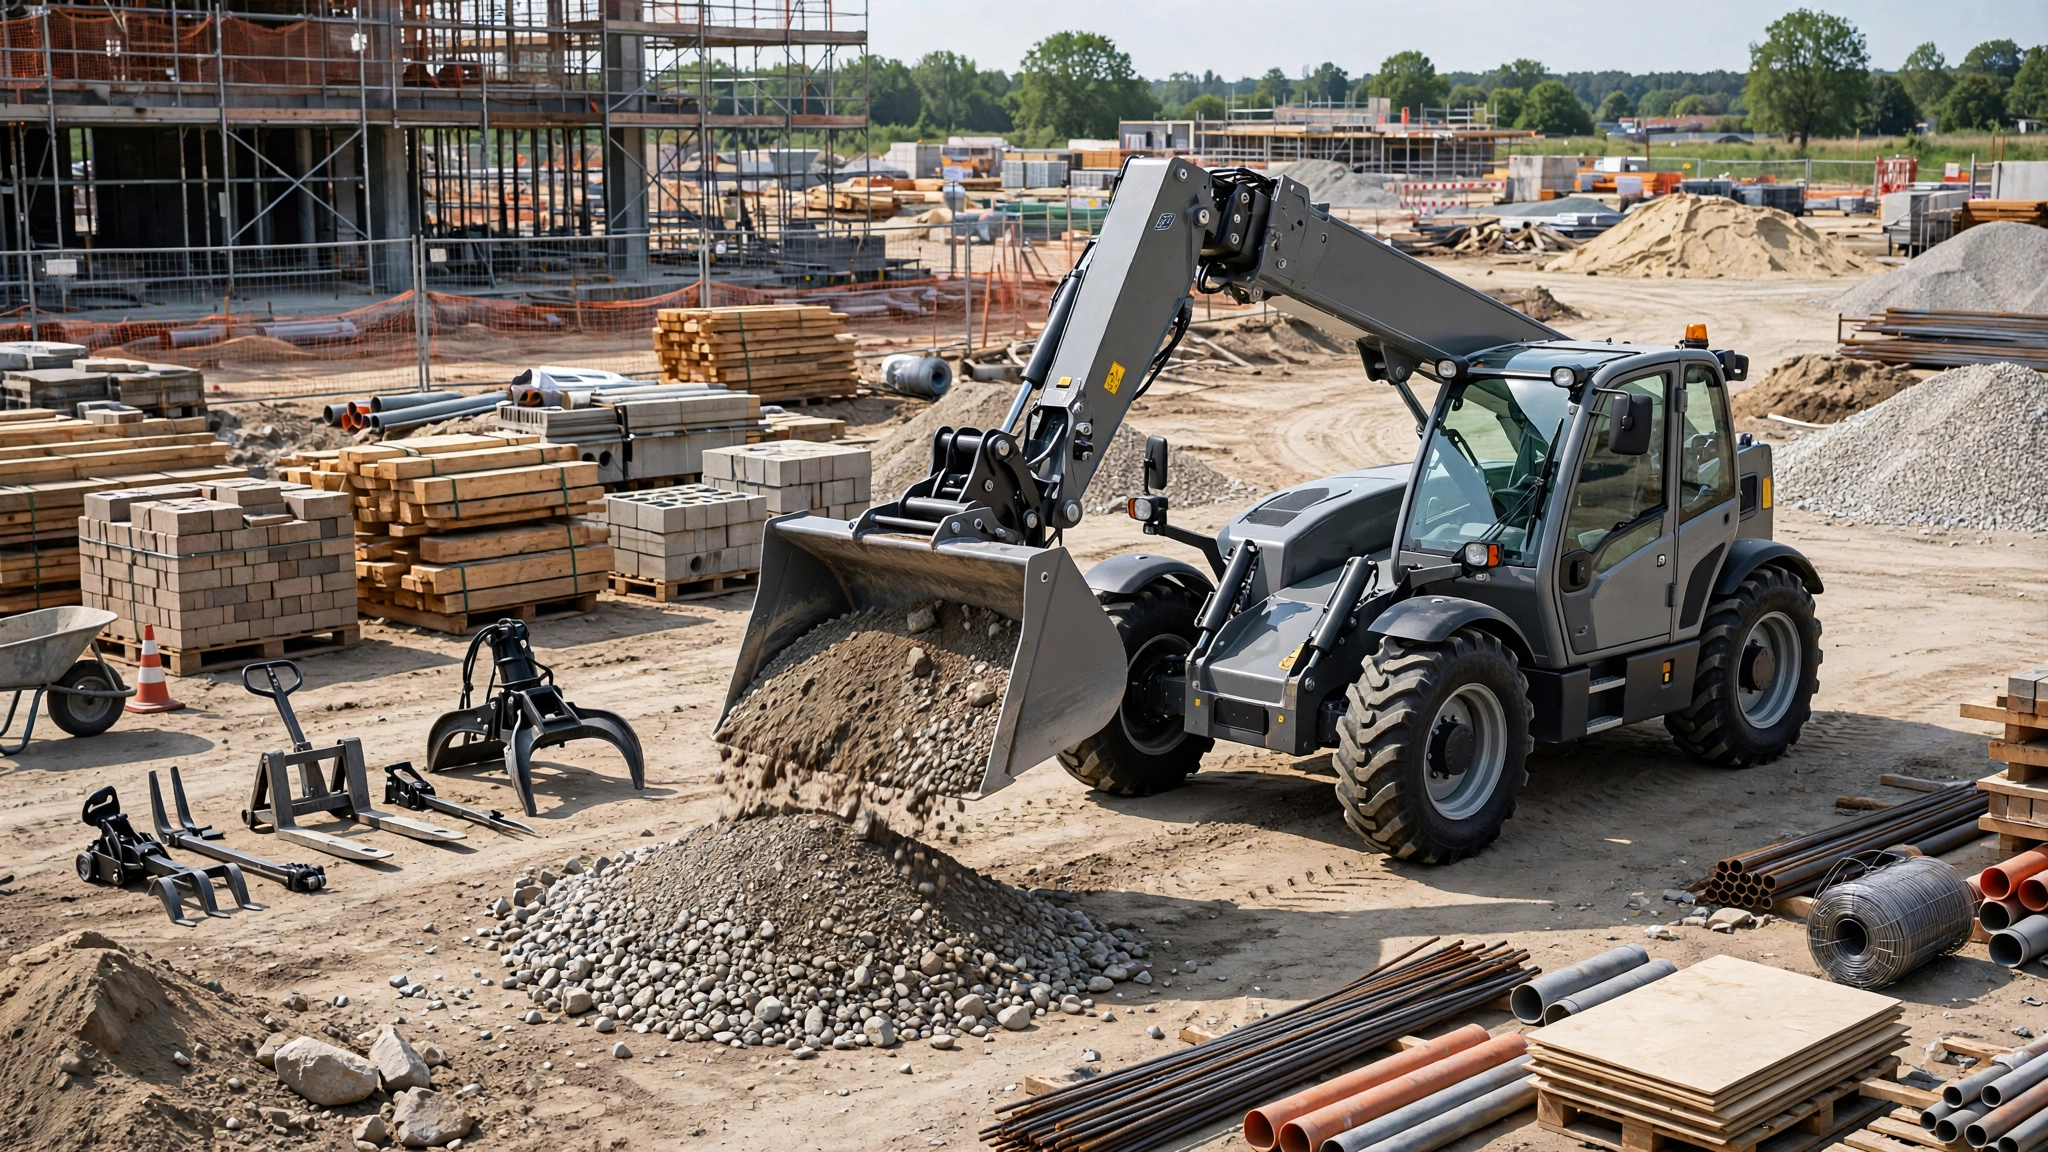
A bucket turns your telehandler into a loader. You scoop loose materials. You lift them. You dump them where needed. Buckets handle gravel, sand, dirt, grain, and debris.
Match the size to your machine’s capacity. Choose heavy-duty buckets for construction and lighter buckets for farm use. A bucket saves you from renting an expensive skid steer. If you do need dedicated compact earth-moving power on site, you could look at a brand new Typhon Stomp Mini Skid Steer, but a telehandler bucket often gets the job done for less.
Most people skip this telehandler attachment guide step and buy the wrong bucket. Do not make that mistake. Get the right size for your machine.
Attachment 3: Winch
A winch adds pulling power to your telehandler. You move objects that do not fit on forks. You pull things you cannot lift. Hydraulic power drives the winch directly from your machine.
When to use a winch: Pulling formwork on construction sites, moving debris, or pulling vehicles in emergency response. Match the pulling capacity to your machine, ranging from 5,000 to 15,000 pounds.
This telehandler attachment guide recommends a winch for anyone who deals with heavy objects that cannot be lifted.
Attachment 4: Crane Jib
A crane jib extends your reach. You place loads through openings. You reach over walls. You access areas the boom cannot reach alone. Jibs attach to the end of your boom.
Match the length to your work. Short jibs for general use. Long jibs for specific reach needs. Always check your load chart, as the jib reduces capacity.
Many people forget this telehandler attachment guide point. The jib adds weight and reduces lifting capacity. Always check the chart.
Attachment 5: Work Platform
A work platform lifts workers safely. You use it for maintenance and installation at height. This attachment saves you from renting a boom lift. Guardrails and gates keep workers secure.
Match the platform size to your work. Only use approved platforms that meet OSHA standards. Guardrails must be 42 inches high, and all workers must use fall protection.
This telehandler attachment guide stresses safety. Work platforms are useful but require proper use.
Attachment 6: Grapple
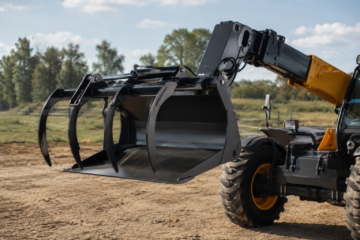
A grapple grabs irregular loads. You handle objects that forks cannot hold, like trees, scrap, pipes, and debris. Hydraulic power opens and closes the arms.
Match the size to your loads. Small grapples for brush. Large grapples for logs and scrap. Choose grapples with replaceable teeth.
This telehandler attachment guide includes grapples because they solve problems that forks cannot.
Attachment 7: Sweeper
A sweeper keeps your site clean. It removes debris from work areas. It saves labor and keeps the site safe. A rotating brush sweeps debris into a hopper. Some use water for dust control; others use filters.
Most people ignore this telehandler attachment guide entry. But a clean site is a safe site. Sweepers pay for themselves quickly.
How to Choose the Right Attachment
Choosing attachments is not hard. First, list your jobs. Second, identify gaps and see what you are renting equipment for. Third, prioritize the tool you will use most. Fourth, check compatibility with your machine’s coupler system.
If you operate a compact machine, such as one of the smallest telehandlers: 9 tiny machines with big lifting power, verify weight limits before buying. This telehandler attachment guide gives you a clear path. Follow it and you will make good choices.
Telehandler Attachment Guide to Replacements
Attachments wear out. They need replacement. Forks wear at the tips and bend. Buckets wear at the cutting edge. Winch cables fray. Jibs develop cracks at welds. Platforms show rust and damage. Grapple teeth wear down, and sweeper brushes wear out.
Regular inspection catches problems early. This telehandler attachment guide recommends weekly checks.
Common Mistakes in This Telehandler Attachment Guide
Buying the wrong size damages the attachment and the machine. Forgetting weight limits reduces your safe lifting capacity. Ignoring maintenance leads to breakdowns. Using the wrong tool for the job ruins efficiency. Skipping safety rules causes accidents.
This telehandler attachment guide covers these mistakes so you do not make them.
Cost-Benefit Analysis
As shown throughout this telehandler attachment guide, attachments cost money. But they save more. See how fast each tool pays for itself compared to renting a dedicated machine.
| Attachment | Purchase Cost | Alternative Rental | Rental Cost/Day | Payback Time |
|---|---|---|---|---|
| Bucket | $2,000 | Skid Steer | $1,000 | 2 Days |
| Winch | $4,000 | Recovery Truck | $400 (per trip) | 10 Trips |
| Crane Jib | $3,000 | Crane | $2,000 | 1 to 2 Days |
| Work Platform | $3,000 | Boom Lift | $500 | 1 Week |
| Grapple | $5,000 | Log Loader | $500 | 10 Days |
| Sweeper | $4,000 | Street Sweeper | $500 | 8 Days |
The math is clear. Attachments pay for themselves quickly.
Our Business Partner
Final Thoughts
This telehandler attachment guide covered 7 must-have tools. Forks, bucket, winch, jib, platform, grapple, sweeper. Each one adds capability to your machine.
Start with the attachments you need most. Calculate the rental costs and let the numbers guide you. Every tip in this telehandler attachment guide is meant to save you money.
Maintain your attachments properly. Inspect before each use. Grease moving parts. Clean after use. Following this telehandler attachment guide ensures longevity.
Invest in attachments. Your telehandler will do more than you ever expected. Your job gets done faster. Your business makes more money. Rely on this telehandler attachment guide as your reference, choose your first attachment today, and start saving tomorrow.